Thursday 18 October 2012

Homemade chicken soup

 Hi all; had a busy couple of weeks here in Canterbury. Robbie's mates have been up to visit, I've been up and down the hill to uni what feels like millions of times, Robbie's started his new job and I've now been given a deadline for two essays too - hectic!

 Today I've been busy - okay, a student's definition of "busy" perhaps - dashing to my lecture (this is a long and up-hill trek, I'll have you know) before coming home, squeezing in time to bake brownies, then summoning up remaining energy to go swimming for an hour afterwards. Currently I'm procrastinating by writing this blog, therefore delaying the moment I will start writing my first essay. Also, if you were wondering, yes, the swimming is basically in the hope of cancelling out the effect of scoffing one's body-weight in chocolate brownies.

 Anyway, after the long haul this morning I came home and had a gorgeous lunch ready with absolutely zero effort on my part (other than nuking it in the microwave for 8mins) - the chicken soup I made early last week and froze in portions. Having made a roast chicken dinner Sunday for two, there was plenty of meat on the bird leftover to tear into soup, and with the carcass leftover I saw a great opportunity to make some nice stock.* So, at last, this is the recipe I wanted to share with you all today:

*If you don't have leftover chicken to hand but fancy this recipe - just fry a chicken breast or two on a high heat (on the hob) until the meat is white all the way through (not pink) and the outside is browning, then chop into bitesize chunks ready to pop in your soup.


*Makes 4 large portions*

2 medium-size onions - chopped finely
2 cloves garlic - chopped finely
3 leeks - chopped roughly
1.5l homemade chicken stock (2 chicken stock cubes in 1.5l boiling water would do fine otherwise)
Leftover cooked chicken meat - torn/sliced into strips
1 large (rather giant, actually) potato, peeled and sliced thinly
1tsp each of dried rosemary and thyme
1 large tsp 'Very lazy chilli' (or 1 chopped fresh chilli)
Splash of Worcestor sauce
Lots of pepper and 1 large pinch salt

Should probably say at this point, make sure your leftover stock and meat haven't been in the fridge for more than 3 days, just to be safe

1. Fry your onion, garlic and leek in a little oil until well-browned and softened

2. Pour your stock into the saucepan with the veg, before stirring thoroughly and seasoning with the herbs, chilli, salt, pepper and a dash of Worcestor sauce

3. Slice your potato (very thinly) into the soup, stirring again so the potato doesn't stick to the bottom of the pan. Allow the soup to reach boiling point before leaving it to simmer in the pan for 30-40mins, allowing the flavours to intensify and the potato to cook well

4. When you want to eat, simply add the chicken (which is already cooked and ready to eat) to the soup and allow to simmer for about 5 minutes, so as the chicken is heated through entirely (you don't want your chicken in the soup for the whole 40min cooking time, though, as it would strip all the flavour and texture from the meat). Season again with pepper before serving

5. If freezing portions: leave the soup to cool for 1hr maximum (you don't want bacteria etc.) and place in tupperware pots or double-bagged freezer-bags (in case of spillage), before placing in your freezer. Simply remove the soup container from the freezer the day before you want to eat it and leave it in the fridge to thaw overnight. Then seriously microwave it the next day when you're hungry - I microwaved mine for 8mins, full power, to get it at boiling temp, stirring well every 2mins. This is necessary; if the soup is only microwaved to warm-ish temperatures, bacteria can linger. So blast it until it's steaming and the spoon you're stirring it with is pretty much painful to touch when removed from the soup (do try not to burn/scald yourself either though, while I'm on a health-and-safety rant - boiling soup is so painful if spilt on you)


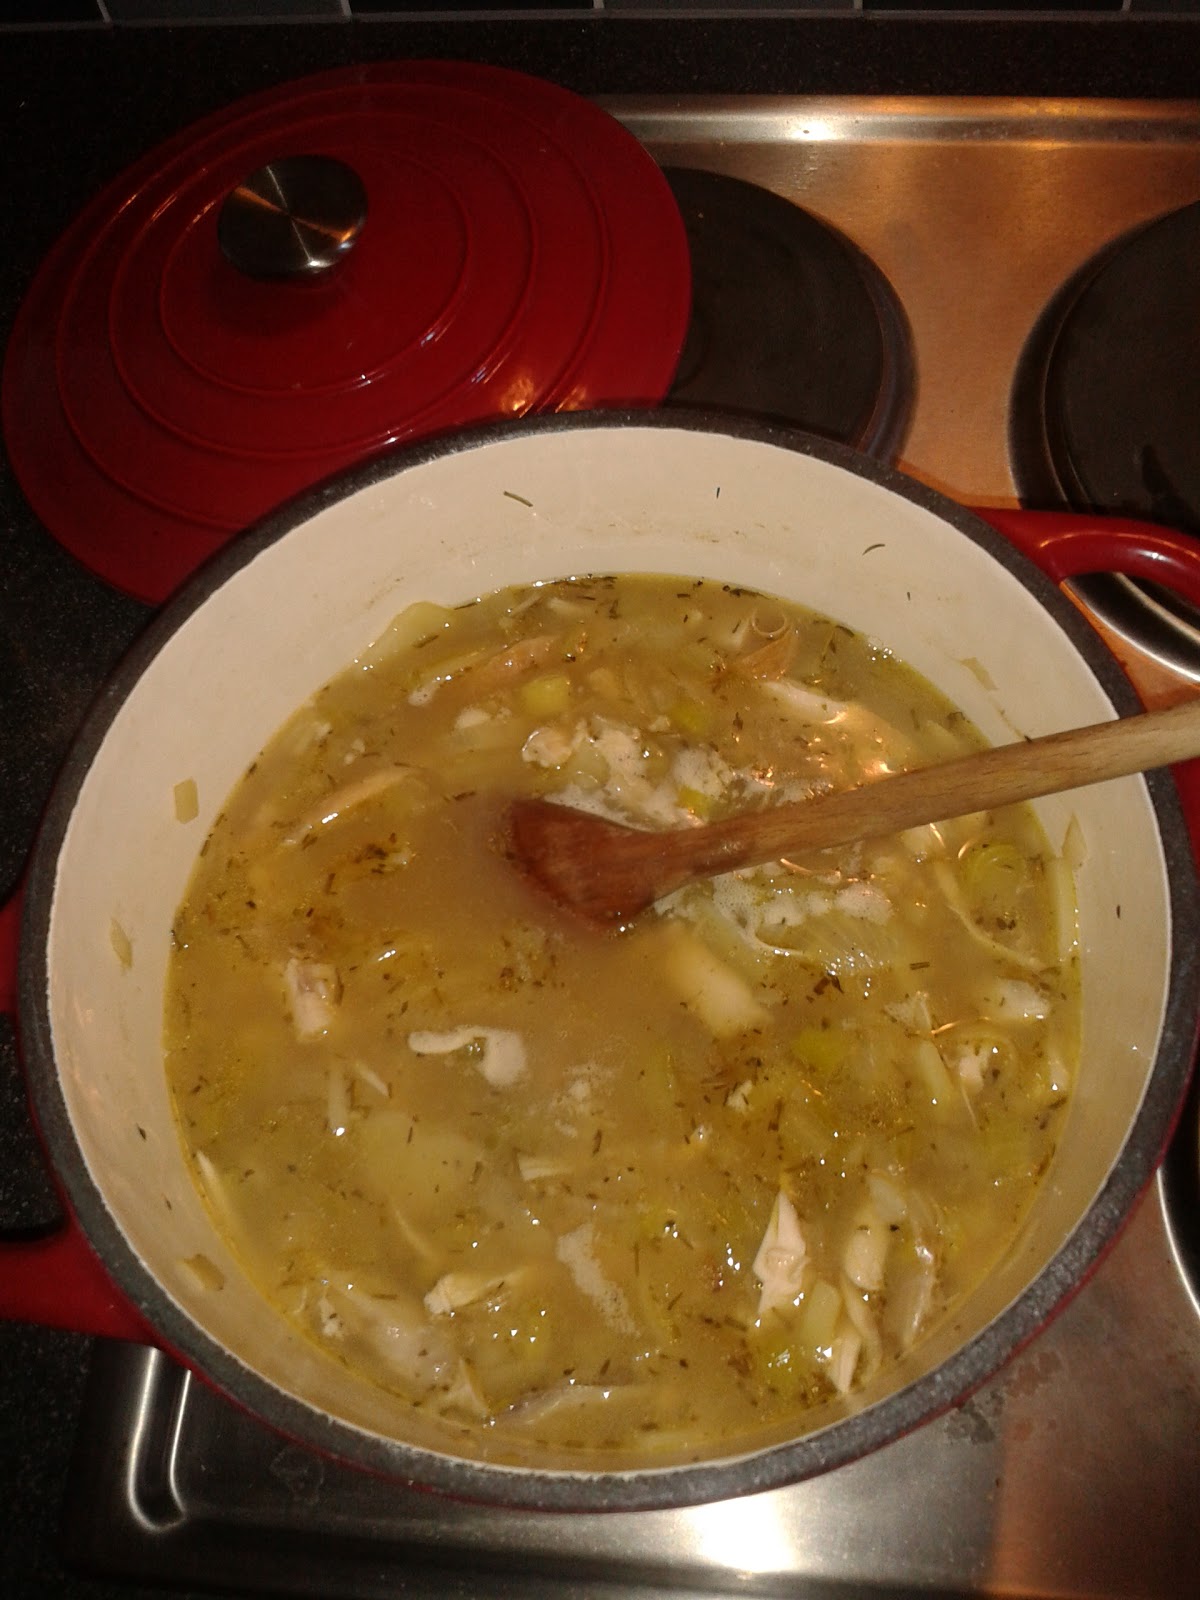
PS: The floaty dark specks are dried rosemary by the way. If you like your soups thick-textured (rather than thinner, with bits), simply blend the soup after the 40mins simmering time, then continue from 4. as normal

Hope you enjoy. It's really rather lovely, especially now the weather's getting depressingly cold, and it's also extremely convenient for a quick lunch. So very handy for students like me who are on the run all day long (ha ha). I'll put the choccy brownie recipe on here soon, don't worry. ;)

Maddie

*

PS: Here's what I had for lunch a few days ago - Nigella Lawson's idea (Nigella Express) - a naan bread "pizza". It was bloody fantastic! I didn't bother with toppings, but literally just whacked the grill on full heat, spread a naan with a bit of tomato puree (ketchup would do) and tore some mozzarella on top (grated cheese works just as well - I've already tried). Grill for about 4mins. Pizza - in an instant. It's a miracle.

Sunday 7 October 2012

Muffins galore!

 Lemon and white chocolate muffins, to be more precise. As I needed to use up some spare lemons whilst simultaneously satisfying my sweet cravings this week, I decided to do some baking - my first sweet bake in the flat.

Anyhow, these are great for either snacking at home or consuming on the move; I've discovered that the little cakes are perfect lunchbox food. And to top it off, I actually iced them (with two separate icings, how indulgent), something I can rarely be bothered to do. Below is one of the finished works smothered in the white chocolate buttercream - perhaps not looking very glamorous (as I'll explain below, I had a traumatic icing bag experience) but tasting delicious, oh yesss.


 The little reusable cupcake cases are incredibly handy as well. I think these butterfly ones were actually purchased from Matalan - I've got two packs of eight - and I really do use them all the time.

As the batter mix created really is quite substantial, I baked and iced my cakes before freezing half - first placing them in the freezer on a baking tray covered in cling film for 2hrs, before removing and literally throwing them, in their cases, into a plastic freezer-bag (also good to have on hand in the kitchen). If you're not a sharing person and simply can't see yourself eating 15 muffins in 4-5 days, I'd suggest you either make up half or do what I've done and freeze them. This way you can just pluck out a cake before running off to uni/school/work, and within 20mins you'll have a defrosted (and delish) snack.

Anyway, the basis of the cake recipe I've used is adapted from the www.goodtoknow.co.uk website* - I've provided a direct link below if you want the specific recipe page!

*Makes - in my case - 6 large and 9 small muffins*

120g butter
150g caster sugar
Grated zest of 1 lemon
1tsp vanilla extract
2 eggs
200g self-raising flour
1tsp baking powder
125ml milk
50g white chocolate, chopped into small chunks

1. Preheat oven to 180' and grease cupcake tin, if using - reusable/paper cases don't need to be greased.

2. Cream butter and sugar before zesting your lemon into the bowl and adding the vanilla, mixing well. Now crack your eggs into the bowl one by one, beating the mixture before adding the second egg and beating again until combined.

3. Measure out flour and add baking powder to it (mix it into the flour as that eliminates the chance of getting bitter mouthfuls of baking powder in the cake: not pleasant). Now add half of this flour/baking powder mix into the creamed sugar/butter, along with half of the milk. Stir until almost combined before adding the last half of your flour/baking powder mix and milk. Before mixing these into the unfinished batter, add the chocolate chunks, and finally, combine everything - but don't over-mix as it will make the cakes chewy and dry. Spoon the batter into the cupcake cases and bake for around 18mins in your preheated oven. The picture below shows the raw cakes upon being placed in the oven - when the cakes come out, they will have risen considerably (yay) and will, hopefully, have taken on a nice golden colour.


4. Whilst the muffins are cooking, create your icings, if using. I made two - one dictated on the recipe I followed that I rather fancied (a rich white chocolate buttercream frosting), and one that I've been using for years and love equally (a delightfully sharp lemon juice/icing sugar glaze - made very thickly on this occasion for my boyfriend who has a penchant for traditional 'iced-bun icing'). Both taste great on these cakes.

White chocolate buttercream:
100g butter
150g icing sugar
50-100g white chocolate, melted

Cream sugar and icing sugar (gently at first to avoid icing sugar being blown all over you and your kitchen - whoops) whilst the chocolate is melting on a low heat in a saucepan (I know you're not supposed to melt chocolate like this but if you use a very low heat, trust me, it's perfectly adequate). When the chocolate is melted, allow it to cool down a little before mixing into the butter icing, and refrigerating to harden the icing before piping.

Note on piping: I struck disaster because my chocolate was studded with puffed rice. Suffice to say that my piping bag became blocked and thus the pyramid-like swirls of icing I'd envisaged for my muffins became impossible. You might fare better than me if you use plain, unadorned white chocolate in the icing mixture...

Lemon/icing sugar glaze:
Juice of 1/2 lemon
100g icing sugar

Literally add one to the other and mix well, adding more of either sugar or juice until your desired taste/texture has been reached. Refrigerate before using to harden the icing a little. (This glaze is perfect for lemon drizzle cakes, just so you know.)

6. Once your muffins and icings have collectively cooled, get icing! I'm rather happy with the photo below as there are only five cakes on the plate, alternately iced - the missing sixth cake tells you how irresistible they are: Robbie had eaten it before the icing made it to the poor cake.


I hope you love these cakes and icings as much as we did - and hopefully you'll have more luck with a piping bag than me!

Maddie

Friday 5 October 2012

Back to Canterbury (and a quick hunters' chicken recipe!)

 So I'm back in Canterbury and all moved into my flat with Robbie. What with being back at uni (I've already read about as much as I did over my entire summer), unpacking my things, repeatedly walking back and forth from classes, preparing for Robbie's job interview and doing lots and lots of food shopping, I've not had heaps of time for blogging - mainly due to the fact that our flat's been internet-free until tonight - yay!

*
I'd also like to take this chance to introduce you to a new member of my family - Smudge, a gutsy (and teeny-tiny) tortoiseshell kitten we've adopted!
*
 Anyway, I have already found time for culinary experiments in the last two weeks - both savoury and sweet - and at the forefront of these is the lovely recipe below for hunters' chicken (barbeque chicken), served with homemade chips and, in my case, corn on the cob - yum. The homemade barbeque sauce is one that I've adapted from Gordon Ramsay's own recipe on his recent 'Ultimate Cookery Course'* program I've been watching. Hope you enjoy.


*Serves 2*
2x chicken breasts
2-4 rashers bacon (fat cut off before cooking - option)

Sauce:
Half onion, finely diced
1-2 cloves garlic, chopped/crushed
Ketchup - 4tbsp
Chilli (or normal) flavoured olive oil - 2 tbsp
Ground black pepper
Brown sugar - 2tsp
Worcester Sauce (Lea & Perrins) - 1tbsp
Paprika - 1tsp

Homemade chips:
1 very large (mine was pretty giant) or 2 medium-large potatoes, peeled & chopped thinly into chips (feel free to do more if you're starving)
Plenty of olive oil
Salt & ground black pepper

Sweetcorn on the cob:
If using corn on the cob, simply place in boiling water for the last 8-9mins of chicken cooking time (or follow whatever cooking instructions are on the packet) and spread with butter once served on your plate.

1. Place an oiled baking tray into an oven, heated to 190-200'. Peel your potato(es) and cut into thin chips before removing the tray from the oven and placing the raw potato chips into the tray. Season well, drizzle over more olive oil (be generous) and place into the oven.

2. Preheat your grill to a high heat, before warming oil in a saucepan and frying onion with garlic until it is starting to brown. Now simply throw in all of the remaining sauce ingredients and stir well on a gentle heat until thoroughly mixed. Leave on a low heat to thicken, stirring occasionally, whilst you cook the rest of your ingredients!

3. Sauce complete; at this point I placed my bacon rashers under the grill and allowed to cook until crispy and browned. This could take up to 15mins - do wait until they're visibly cooked & crisp all over. Do get your chips out and turn them over at some point here before putting them back in the oven. Meanwhile, heat a little olive oil in a large wok (a frying pan would do just as well) on the hob.

4. When the bacon rashers are cooked, place onto a piece of kitchen roll, draining excess fat oozing out. Now place your chicken breasts onto the heated wok, allowing them to sizzle and brown well on their bottom side (about 2-3mins depending on the heat of your hob) before turning and browning the other side equally (this time about 3-5mins). There's no rush here - the more golden brown your chicken is, the better.

5. Once you can see that the chicken is all white and nicely browned across its outside (if you can still see raw pink patches, simply continue to cook for longer in the wok), place your bacon underneath the chicken in the wok, before pouring over the barbeque sauce and leaving to cook together on a medium heat on the hob for about 15 or so minutes. Keep tilting the pan to re-douse your chicken breasts in the sauce, keeping them moist as they cook through. Whilst waiting for your chicken to cook through, check on your chips - if they are crispy and brown all over by now, simply keep on their hot baking tray on the side until the chicken is ready.

6. After 15mins, return to your chicken, bacon and barbeque sauce and cut your thickest chicken breast into half, checking that the chicken is entirely white throughout - please make sure there are no pink bits left. When the chicken is completely cooked, serve with your bacon placed on top of the chicken and the sauce spooned over. You could also grate some cheese over the top - but we didn't; to be honest, the sauce is rich enough as it is - plus the chips and corn on the cob's simple tastes really cut through that sweet sauce. Mmm. Enjoy!


Maddie x

* Gordon Ramsay's 'Ultimate Cookery Course' page on the Channel 4 site.

http://www.channel4.com/programmes/gordon-ramsays-ultimate-cookery-course/4od#3408434