Tuesday 21 January 2014

New year, new recipe: cauliflower cheese pasta bake

Hi everyone - happy new year and apologies again for the blog delay! My final year of university has been just as manic as predicted. What with university deadlines, piles of books, joining a newly-formed publishing society, and creating artwork and creative content for the society's magazine - Figment - I've been too busy to update regularly! 

Luckily I've had a relaxing Christmas break and it's been so nice to recharge the batteries; I had a wonderful Christmas with all the family, spent lots of time with Robbie, and have had some real "me" time (involving Harry Potter books, Game of Thrones DVD sessions with the little sister, and colouring books - heaven!). I've made a number of resolutions for the new year and it will be great if even a few of them stick. As well as writing creatively a lot more, I'm trying to create some artwork on a regular basis, take plenty of photographs on my new camera (mentioned at the end of this blog post!), and I'm even teaching myself the basics of the Italian language, to match my love of Italian food - buona sera, mi chiamo Maddie! 

Anyway, I've come back to Canterbury this week feeling fresh-faced and determined to juggle all the responsibilities of my final term at university. Wish me luck!

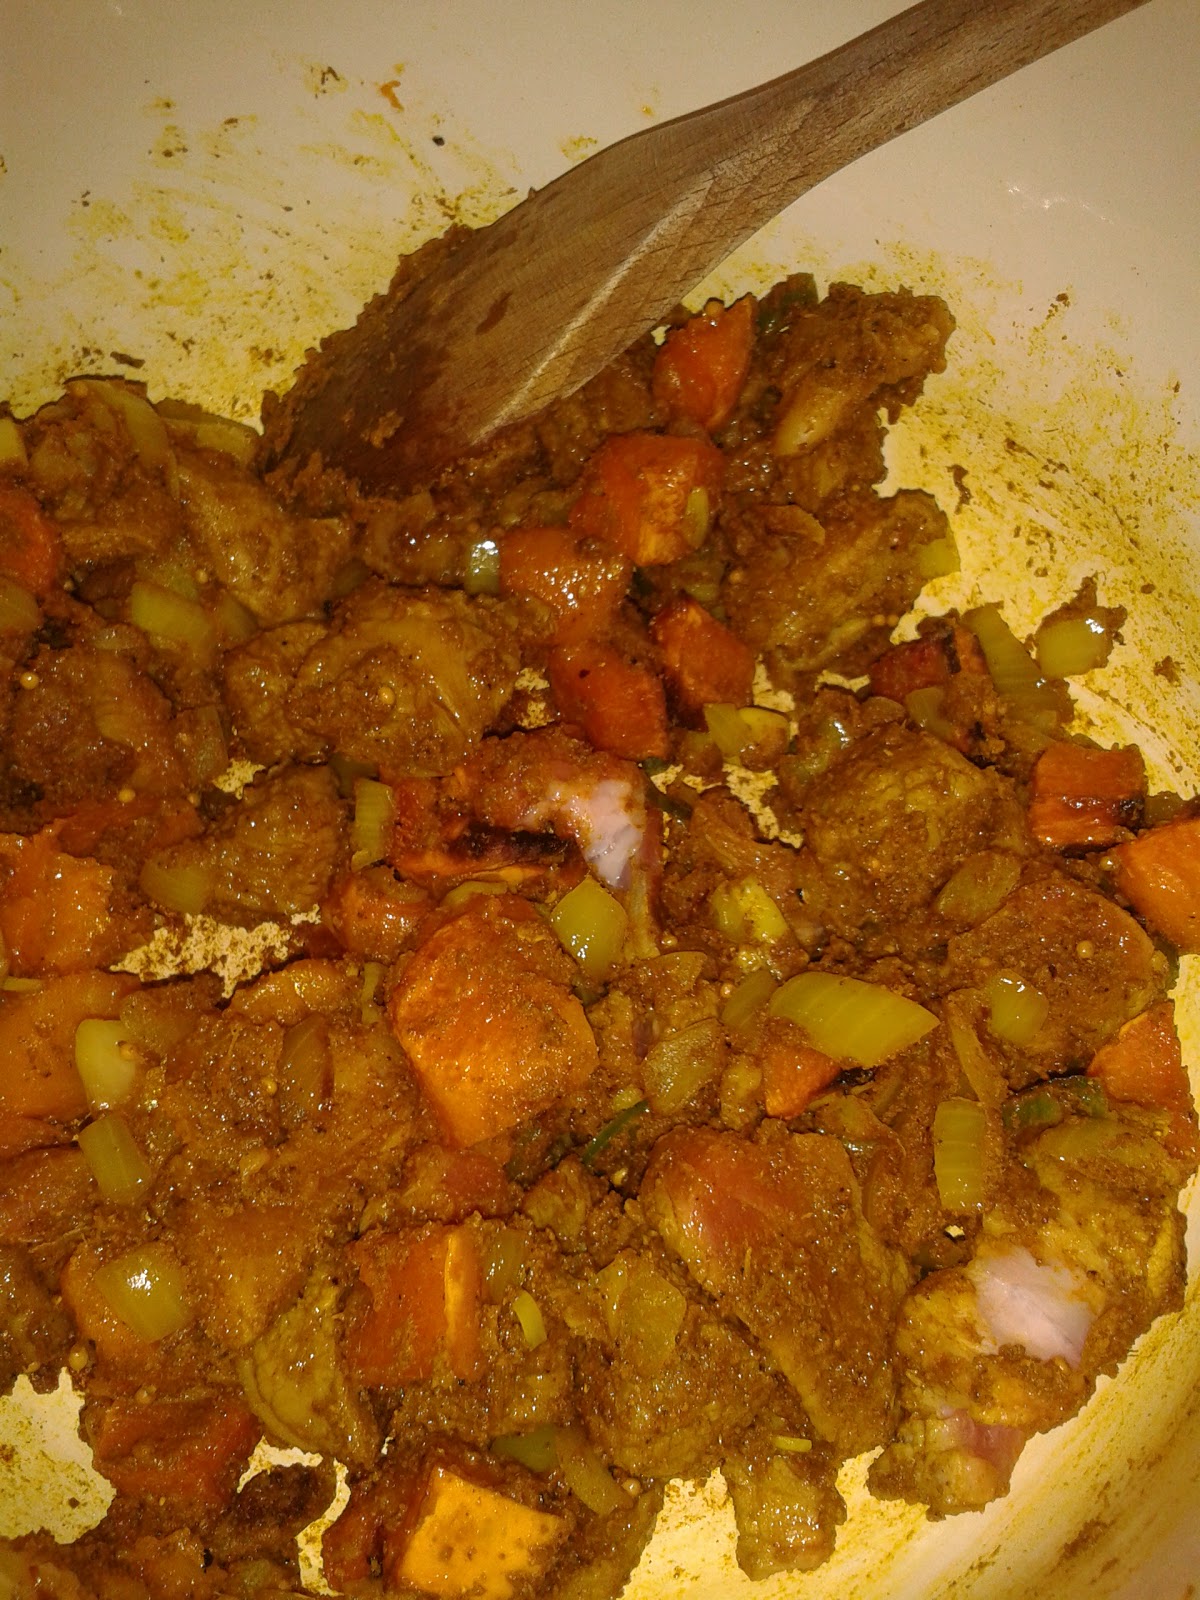
Coming back to the subject of food, in the spirit of 'juggling' I've come up with a quick, healthy, and cost-effective meal that tastes absolutely gorgeous - perfect (and speedy) comfort-food for those who are also leading busy lives at present. This delicious pasta bake takes no time at all to whip up and is filled with plenty of vegetables, tasty smoked bacon, and a thick cheese sauce.

*Cauliflower cheese pasta bake*
*Serves 2*

200g pasta shapes
70g strong cheddar cheese, grated (50g for the sauce and 20g to top)
200ml milk
1tsp marge/butter
2-3tsp plain flour
4-5 mushrooms
1/2 leek
1 clove garlic
4-5 pieces (large florets) frozen cauliflower
2-3 rashers smoked back bacon
1/4tsp dried thyme
1/3tsp wholegrain mustard
Black pepper (lots)
1/2tsp anchovy paste (if you have it - not essential but adds a nice saltiness)

1. Firstly, lay out all ingredients by the hob as there's quite a few you'll need to hand for your cheese sauce. Put your grill on to a high heat and place your bacon under the grill to cook thoroughly until nicely coloured - I like mine almost burnt for the deeper flavour! This will take about 15 minutes depending on your grill power. Check and turn the bacon occasionally whilst continuing with the next steps. 

2. Preheat your oven to 180' and slice your fresh vegetables (garlic, leek, and mushrooms) thinly, before adding your veg to an ovenproof dish with a little olive oil. Fry these until soft and fully cooked; whilst they saute you can boil your kettle ready to start cooking your pasta.

3. Next add your pasta shapes to a saucepan of boiling water, allowing about 10mins total cooking time. After 4mins of this time, add your frozen cauliflower pieces (and any other frozen veg you may wish to use) to the pasta saucepan, leaving them to cook for the remaining 6mins.

4. Once your veg are cooked, transfer to a dish and set aside. In the now empty ovenproof dish, pour in your milk and allow to warm through, taking in the flavours left by the sauteed vegetables, before adding your butter and flour and stirring thoroughly (so as to avoid lumps) until smooth*. Use a whisk or electric stick blender if necessary. Next grate in your cheese, stirring well, before adding black pepper, dried thyme, mustard, and anchovy paste (if using). Leaving the sauce on a mid-high heat and stirring occasionally, the sauce should begin to thicken nicely into a custard-like texture within a few minutes. If the sauce is thin after 5mins or more of stirring on a higher heat, simply add another tsp of flour.

* This is a non-traditional way of creating a white (bechamel) sauce. Most chefs melt butter over a low heat and whisk flour in, forming a paste, before adding the milk slowly - however, I find this a trickier method that requires more effort and results in far more lumps. Simply use whichever method suits you best!

5. By now both your bacon and pasta/cauliflower should be ready! After first checking that they are thoroughly cooked, take the grilled bacon and pasta/cauliflower saucepan from the heat (drain your pasta/cauliflower saucepan), before setting aside. 

6. Once cool enough to handle, crumble your bacon into bite-size pieces directly into the cheese sauce. Finally, stir your cooked vegetables, pasta, and cauliflower into the cheese sauce, stirring all ingredients in well, before seasoning again with black pepper and grating over your remaining cheese. 

7. Now simply place the ovenproof dish into the preheated oven for around 20-25mins until nicely browned. If you have any, serve with a drizzle of chilli-infused olive oil - it's rich, gorgeous, and adds a lovely spicy kick to the cheese sauce. Enjoy!


Here's my first 'foodie' photograph taken on my new camera - thanks to my Nan and Grandad for the fantastic Christmas present! If any of you are interested in looking at my photography, feel free to follow this link to my new Flickr account: http://www.flickr.com/photos/16467365@N03/ 


I hope you've enjoyed the post and do feel free to comment or get in touch. Hopefully I'll be able to update again before too long. Ciao! :)

Maddie x

Thursday 26 September 2013

Welcome back :)

As you know, I've taken a rather long break from my blog in the past few weeks (more like months, actually); with the arrival of summer I had hoped to get some more free time in to write but actually, what with part-time work and two fantastic summer holidays - in Paris (France) and Estartit (Spain), I became even busier than I'd been during the exam season in May. At any rate, there's lots for me to catch up on! In this blog post I'll be reviewing Jamie Oliver's latest cookbook, Save With Jamie, but look out for future blog posts on my Paris scholarship trip, my family holiday in Estartit, and new recipes... 

*

 I must - and will - update you soon on the recent scholarship trip to Paris that I delightedly accepted in June from the University of Kent (where I am now in my final year of studies). As part of the trip free travel, accommodation, tours, activities and, most importantly, some might say, food were provided, allowing the students involved the chance to really immerse themselves in the Parisian cultural experience. Thanks again to Ana de Medeiros, Stephanie Green, and all the other students involved! I'll try and follow this short surmisal of the trip with two blog posts - one relating to the scholarship as a whole and one regarding the Parisian cuisine, both high and low. Trust me when I say that many photos will be uploaded! 


*
Save With Jamie
Prior to my break from blogging I tried to impart some budget-friendly tips and recipes that I've picked up during my two years as a self-catering student. And I'm thrilled to say that over the summer, we've seen the release of a wonderful budget-friendly cookbook - Jamie Oliver's Save With Jamie* - which delivers exactly what is promised: delicious recipes with a straightforward list of largely affordable - only occasionally indulgent - ingredients.

Quite simply, I think that he's approached the issue superbly, providing not only a beautifully produced and well-thought-out cookbook (photographing and introducing every recipe included) but a television series that adds real passion to the sometimes arduous task of feeding people successfully and, more importantly, excitingly on a budget.

From what I can gather, the book has been criticised chiefly for Oliver's subtle self-promotion of sorts (i.e. suggestions to buy Jamie Oliver branded food and cooking equipment in the book's opening pages). However I would not say that this a particularly damning critique when considering that at no point does he explicitly demand that you buy his brand items. Personally I think that unless there is a food or cooking-related product that you are happy to indulge in (my own weakness is Lloyd Grossman's jarred pasta sauce, when on offer) it's just common sense to go for a more affordable option. Therefore I would suggest that if Oliver's products are more costly, a budget shopper - the book's target audience, after all - is unlikely to opt for them.

 My only niggle with the book would be the occasional slip-up in which meals pictured vary slightly from ingredients stated on the recipe (for instance 'Hungover Noodles' in the Veg section use buckwheat noodles in the picture rather than the cheaper egg noodles listed in the ingredients). To be perfectly honest, though, this is a minor issue and ultimately I love both the ethic and recipes which have gone into this book.

Most significantly, Oliver has shown visible restraint in his recipes in Save With Jamie when compared to previous books. For instance, the majority of the ingredient lists in this cookbook average out at around 10-12 ingredients, in comparison to the sometimes excessive 15-20 - or more - in Jamie's 15 Minute Meals. Furthermore, Oliver's advice regarding the reduction of household food waste and savvy use of meat and fish in brilliant 'leftover' recipes are not only helpful for individual and family budgets but are positive on a global scale, relevant to issues such as food wastage, the meat industry, and worldwide food costs.

 In summary, Oliver's cookbook appeals to me on a number of levels, but firstly as a lifeline to a student on a culinary budget - for me, at least, it seems that this book is more than capable of rising to the challenge. Let me know if you agree or think otherwise, as I'd love to hear why.

Thanks for reading and my apologies again for the delay,
Maddie  :)  x

*Currently available in Sainsburys' for a very affordable £9.99 - otherwise, watch out for the programme on Mondays, 8pm, on Channel 4 or visit the website - http://www.jamieoliver.com/savewithjamie/

Friday 3 May 2013

Day 2: Lamb and butternut squash curry

So it's post two this week - and this time I've made lamb and butternut squash curry (rogan josh style) for dinner. Just because lamb is a more expensive meat doesn't mean you can't have it on the menu, and the homemade sauce (made with tinned tomatoes and spices) tastes way more authentic than the jarred sauces or ready meal versions. I have to admit this is the first time I've personally cooked with butternut squash - my family recently discovered it at a restaurant - but I was really pleased with the overall taste of the dish - it adds some nice texture and flavours to the curry sauce. The recipe and method for the curry are below - this will serve two so if you're serving less/more people, just halve/double the recipe accordingly. Just a heads up - this dish takes two hours' cooking in the oven to get the meat just right so start cooking long before you're hungry!

*Serves 2 - £1.90 per person*
1 pack diced lamb
1 onion
1/3 of large butternut squash, peeled
3-4 cloves garlic
1 fresh chilli
1 large fresh tomato (to add in the final 10mins cooking time)
1/2 carton chopped tomatoes
1tbsp tomato puree
1/2 cup water
3tbsp olive oil
2 large tsp garam masala
1 large tsp ground cumin
1tsp ground coriander
1tsp turmeric
1tsp mustard seeds (optional)
Salt/pepper

Rice/naan (both if you're feeling greedy!) to serve alongside
Fresh coriander is great chopped and sprinkled on top of your curry when serving

1. Preheat your oven to 200'. Take your butternut squash and cut circular 1-inch slices off of the long, narrow end of the veg. This makes the next stage easier - taking these wedges of veg and cutting the thick, hard peel from the edge so that you're only left with the bright orange flesh. Cut into 1-inch cubes before placing the veg onto a baking tray, pouring over about 1tbsp of olive oil and seasoning with salt and pepper. Peel 3-4 garlic cloves, squish with a knife and add to the squash tray. Place in the oven for 30-35mins.


2. When your squash has only 10mins cooking time left, chop an onion and your chilli (and a little bit of ginger if you have it) before throwing into a saucepan on a medium heat. Add 3tbsp olive oil, mustard seeds, and all your spices to the saucepan with the onion/chilli at this point, stirring well. Now add your diced lamb to the pan, cutting excess fat off if necessary.


3. By the time your lamb is browned, your squash should be ready to take out of the oven. (Turn the oven's heat down to about 150', leaving it on ready to put your curry in to cook) Add the squash and garlic to the lamb/onion/spices before adding your tinned tomatoes, tomato puree, and water. Mix well and allow to reach boiling point before transferring to an ovenproof dish and placing in the oven. Leave to cook for around 2hrs to get really tender meat.

4. Once the curry has cooked for 1hr 50mins, slice a tomato and add this to the sauce for the last 10mins of cooking time. Serve with rice and/or naan. Hope you enjoy!


Overall cost of £6.67 for ingredients including rice and naan but minus spices (these vary for between 45p-£1 for a pot - which last at least 8 portions in each). Per portion here, you're looking at a price of about £1.90 with sides included - an incredibly reasonable cost when considering that you're using lots of fresh ingredients and that lamb is one of the most expensive meats to buy. The supermarket ready meal equivalent of lamb rogan josh curry, rice (ready-prepared), and naan comes in almost £6 more expensive.

Tomorrow's meal is a homemade beef mince and butternut squash lasagne (the second real taste test for my squash!) topped with cheese sauce with a twist. Hope you've enjoyed reading!

Wednesday 1 May 2013

Food and money: day one

 For a long while now I've been wanting to write a blog about the "student" budget (any budget) to show people that you really can eat very well, very cheaply. I hear so many people complaining about the price of food, and agree that buying healthy food can be costly - but supermarket ready meals really aren't the answer. They're great if you've got a busy week ahead but for day-to-day living, face it, they're not the healthiest or even the nicest food. The recent horsemeat issue has made this even clearer to the public, although I'm willing to bet the meals still tasted fine - horse is a perfectly acceptable and edible meat in some parts of the world.

Anyway, this week my plan is to give you day-to-day updates as a food diary of sorts, looking at seven meals I've prepared and what they cost to make. Obviously I can't compare exact calorie counts etc. versus ready meal versions, but I'm pretty darn sure they are all much healthier - and tastier too. The issue of people living on a tight budget - we're all in a recession - and wanting to create good food on a daily basis is something that I feel very strongly about. As those close to me will know, I love eating out and I love shiny new cookbooks, often released by celebrity chefs, but I find it incredibly frustrating that hardly anything is being done by these kinds of people - who are mostly very wealthy - in terms of helping create awareness, recipes, or ideas in response to the public's demand for tasty and healthy food that is affordable on a budget.

 Because let's be honest - food can be expensive. If you want the latest fad brand, a high-end supermarket product, or popular items like parmesan cheese or fresh salmon, you're going to have to shell out. It's understandable that when you see a basic-brand ready meal - i.e. low-cost lasagne at 75p - and compare the price to a long list of ingredients to make it yourself, it seems the obvious solution. But you can overcome these problems by just a little budgeting and meal planning, and DIY cooking is so worth it - tastewise, nutritionally, and even financially. I'm hoping this blog will help you see that cooking fresh, good food on a budget is entirely possible.

So let me start with today's meal -

*Day 1: Spaghetti Carbonara - £1.80 per person*

 To serve one you will need 2-3 rashers of bacon, 80g pasta, a dollop of creme fraiche, about a handful of grated cheese, 2 mushrooms, 1 clove garlic, 1/2 a fresh chilli.

Find the full recipe (note it is for two portions) and method at http://acreativespell.blogspot.co.uk/2013/03/carbonara-two-ways.html - you're looking for recipe number two.

When buying these ingredients instore (I shop mostly at Sainsburys', if you're interested) in their packaging, you're looking at about £7.50 costs. When considering that you're not using all of the food you've purchased (i.e. a 10-rasher pack of bacon will serve you easily 3x, and a 500g pack of pasta can serve you about 7 times), the individual meal price comes in at only £1.80. Of course if you make this dish for more than one person and raise the ingredients appropriately, the cost becomes even cheaper.

The middle-standard ready meal carbonara from the supermarket is not only more expensive and less nutritious (no veg) but has significantly less meat and a very high fat content due to the substantial amount of cream within its sauce. Why not make the real thing instead? It takes no time at all and tastes gorgeous.

I'll be back tomorrow with a new recipe - my homemade lamb and butternut squash curry - and its price.

* * *

PS: Just an addition to the post - I was lucky enough to eat at La Trappiste, Cafe du Soleil, and The Ancient Raj (all three based in Canterbury city centre) a few weeks ago when my parents visited for a couple of days. Honestly can't fault any of them for their food - all three provided incredible - and different - meals. I'll review them soon for you - and even took some cheeky pictures of the meals - so look forward to it!

*

PPS: Had to include this photo - a yummy smoked salmon/rocket/olive bread (etc.) salad made while at home last week - making the most of the ingredients I can't afford whilst here at uni!


Thanks for reading! Feel free to get in touch. :-)

Saturday 6 April 2013

(Belated) Good Friday fish dinners

Hi everyone - hope you all enjoyed your Easter! I have to say mine was much improved from last year - admittedly I was still celebrating the holiday alone (as I'm working in my university town over the holidays) but I managed to upgrade last year's McDonald's Easter Sunday dinner to a homemade carbonara - plus chocolate for pudding - and spoke to the family over Skype! The carbonara recipe - yes, another one, it's worth it, I promise - will be appearing on my blog sometime this week, but for now, I thought I'd share two suitably 'fishy' meals for last week's Good Friday - or any Friday as a matter of fact - particularly as fish is renowned for being 'brain food'; with my recent writing of the last essays of my second university year, I've certainly needed it.

My first recipe is a fairly traditional English fish pie - perfect for a Good Friday fish supper - jazzed up with a bit of wholegrain mustard and lots of cheddar cheese! I know that so many people think fishy food is awful (or share the Italian school of thought that fish and cheese together is a cardinal sin) but this recipe is set out here to prove you utterly wrong. When you see the beautiful colours of the fish and smell the pie in the oven - and most importantly, taste the darn thing - you will understand what I'm talking about. This meal is literally heavenly (if I say so myself) and so simple. It's perfect comfort food and doesn't even require proper cooking.

My second recipe is perhaps not as 'Good Friday' as fish pie, but this Mediterranean style tomato-mackerel pasta will blow your mind (and tastebuds). It's really quick and easy but tastes yummy, is actually very good for you, and just seems a bit different to the infamous tuna pasta bake I've heard so much about (this may seem weird for a student but I've never much fancied tuna). Anyway it's spicy, saucy, simply lovely. Enjoy.

*Fish Pie*
*Serves 2*

1 pack of fresh fish (ready chopped/deboned - Sainsburys' do a great 'fish pie' pack for about £3.30 that uses three different types of fish - perfect)
6-8 king prawns, halved
1 leek
Large handful frozen peas
1 red chilli (small)
1/3 pack light herby cream cheese
Splash milk
2 large potatoes
1/2 tsp wholegrain mustard
Lots of grated cheddar (large handful at least!)

Warning: you'll need an ovenproof dish for this - luckily I've got one that I can use both on hob and in the oven, saving me transferring my fish pie mix to an ovenproof dish after preparing it.

1. Boil a kettle and add to a saucepan with a pinch of salt and the peeled/chopped potatoes - they'll need at least 15mins to cook until soft (for the purposes of easy mashing)

2. Chop leek/chilli and place on a high heat on the hob. Whilst cooking, halve your king prawns and make sure the fish in your pack is chopped into evenly-sized chunks. When your veg are cooked, turn off the heat and gently add your fish/prawns to the pan before mixing cautiously - you don't want to break up your chunks of fish too much 

3. Add your cream cheese and allow to melt over your fish and leek mixture into a sauce before throwing in frozen peas, some black pepper, and a tiny splash of milk if necessary (be careful though as too much milk makes for a wet pie - your mash won't brown/crisp)


4. By this point, your potatoes ought to be cooked; prod with a knife to make sure before draining, taking the pan off of the heat, and placing the potatoes back in their pan with a tbsp of butter/marge, grated cheese, and wholegrain mustard. Mash well (I don't have a masher so just use a fork instead) until smooth-ish.

5. If you have been using a dish like mine (suitable for hob and oven use) - then the next step is particularly easy - when the mash is to your taste, simply take forkfuls and layer over your evenly spread fish-leek-cream cheese mix, before placing in the oven at 160' for 45mins. If you have to transfer your fish to an ovenproof dish at this point, do so gently, before covering with your mash in just the same way as above and baking with the same heat/timing as detailed above. Serve and enjoy!

(It's not the prettiest dish in the world, I know, but if you were serving it for people other than immediate family and wanted a better appearance, you could make individual fish pies in smaller ovenproof dishes - they'd look much smarter like this)

*

*Med-style Mackerel Pasta*
*Serves 1*

1/2 tin smoked mackerel, in brine
1 red chilli
1-2 cloves garlic
1/2 tin chopped tomatoes
1 chopped leek
6 destoned black olives, halved
Splash of balsamic vinegar
Lots of black pepper
Dash of Worcestor sauce
Sprinkle of oregano
Chilli oil, to serve (trust me, you only need a drizzle but it's yummy)

80g spaghetti (smaller than ususal portion - leek makes up for this!)

1. Finely slice garlic, chilli, and leek. Add to a wok (not completely necessary but makes it easier to see everything going on!) and place on a high heat

2. While these cook, boil a kettle and get a saucepan ready to throw your spaghetti into. Open your tin of mackerel (on the rectangular Sainsburys' tins, it opens easily with a ringpull) and drain - I pour the brine away outside as I have to admit, it smells fishy - the odour stays in your sink otherwise (please don't let this put you off the mackerel itself - it's so lovely and already deboned etc. - ready to eat in the tin!) 

3. When the leek is cooked and softened, add your tinned tomatoes, stirring well and crushing with the back of a wooden spoon until smooth. At this point add your pasta to salted boiling water (for 10mins cooking time). Add your sauce ingredients (listed above) to the tomato-leek mix and stir well, before adding around half of your tinned mackerel* and breaking up with a spoon. Like tinned tuna, it breaks up easily and is already cooked, so you don't need to worry about cooking times, etc.

*You could use leftover mackerel in a cold mackerel-mayo-salad wrap for lunch the next day, or simply double the recipe and make enough for dinner tomorrow - it's awful but that's what I do as this recipe is my absolute favourite at the moment!

4. Keep an eye on your tomato-mackerel sauce as the pasta cooks, adding little sploshes of the boiling pasta water to the sauce when it begins to look too dry. Remember to keep the sauce on a high heat as this way the sauce stays thick and flavourful without thinning down too much as you add water


5. When your pasta is cooked, drain lightly and add to the wok holding your tomato-mackerel sauce, stirring well, adding extra black pepper and a drizzle of chilli oil if you have any. Throw in your black olives at the last minute and stir through once more before turning off the heat and serving. I'm really hoping you love this one as much as I do - I think it's beyond lovely...

Sunday 10 March 2013

White choc pecan banana loaf

As I made this gorgeous loaf cake last night, I thought I'd blog about it now while I'm still enjoying the fresh results. I promise you right now that if you like bananas, cake, or pecans, this is going to be such a treat. Actually, I wouldn't even say that this cake is unhealthy enough to factor as a treat to keep at bay*; it's filling, fairly nutritious, and full of health benefits - such as the pecans' antioxidants and good fatty acids, and the bananas' potassium and vitamin C.

*Unless, like me, you find that you eat half of it in two days. Practice moderation.

Before I list the recipe, however, I will confess that I think it may be the combination of white choc chips with mashed banana and chopped pecan that makes this loaf cake so good*. Hey, a little sugar never hurt anyone. What's particularly lovely is that the choc chips, after baking in the cake for almost an hour, will have almost entirely melted, leaving tiny little sweet patches all through your loaf.


PS: Don't be alarmed that you are being instructed to use granulated sugar in what is technically a kind of cake - I guarantee you it works and tastes absolutely lovely.

*My basic recipe is adapted from the yummy banana cake recipe detailed on the Joy of Baking website - www.joyofbaking.com - do have a look if you'd prefer a less sweet banana cake. Or just cancel out the chocolate chips that I add prior to baking.

*White Choc Pecan Banana Loaf*
Makes 12-16 wedges and 4 spare little muffins

Loaf tin size: length 22cm, width 12cm, depth 6cm. Use a larger loaf tin if you don't have the energy to make muffins out of the remaining batter.

230g plain flour
120g granulated sugar
110g butter/marge - melted
2 eggs
2 giant bananas - or 3 smaller size - mashed
100g pecans - chopped
100g white chocolate chips
1tsp vanilla extract
1tsp baking powder
1/4 tsp salt

1. Put a small pan on the hob over a low heat and add butter, leaving to melt. Remember to take off the heat once melted, allowing it to cool a little before its use. Meanwhile, preheat the oven to 180'. Chop the pecans, or simply tear apart with fingers over a bowl, as I did. Combine in a large mixing bowl with all remaining dry ingredients (except chocolate chips).

2. Mash the bananas well in another bowl, before adding vanilla, melted butter, and two eggs (add these to the bowl individually, whisking a little with your spoon as you mix into the other wet ingredients)

3. When fully combined, pour the wet ingredients into the dry. Mix until a thick, lumpy batter is made, before adding chocolate chips and quickly stirring in - don't overmix as it'll leave you with a tough, dry cake. The lumps really don't matter.


4. Finally, pour the mixture into a lined loaf tin - at this point, I had a little spare so filled four cupcake cases with extra batter - and place in the oven. Leave the cupcakes for 16mins - you'll notice that they have started to brown nicely at this point - but leave your loaf tin for 55mins overall. When the loaf comes out of the oven, it will be golden brown, crisp on top and an inserted skewer/fork prong will come out of the cake clean.


Although I've not tested this yet, I'd bet that this loaf lasts about three days with perfect consistency - on the third day, I'd freeze a few portions ready to take to work for your lunch. Happy days!

*

On a final note, I'm two days away from turning twenty! Being a teenager is almost over and it feels so strange. Wish me good luck for the 12th March please. :)

Carbonara two ways

 Firstly, happy mother's day, everyone - I love you Mum!

(Me, Mum & Abi - Mallorca 2010)

Anyway, let's get cracking. This is my first blog in what feels like forever! With uni essays out of the way - for the time being - I've finally got some me time, and I feel like sharing. As the weather has been so miserable over February, I've been cooking - and eating - a lot of comfort food. Pizza, chips, cake, triple chocolate cookies, mmm.

Now we can all eat these in moderation, but February has not been a moderate month and this has definitely done my waistline no favours. The carbonara recipes that I'm sharing today, whilst gorgeously creamy, manage to combine healthyish eating with comfort - they're certainly not as stodgy or fattening as the supermarket ready-made sauces, anyway (although I'm not slating these - supermarket fresh carbonara sauce is great for a quick ready meal). The first recipe here is incredibly quick, very simple to follow and perhaps the more Italian-inspired - although I've given it an admittedly "student" twist. The second recipe is perhaps more macaroni-cheese style than carbonara, but the basis is the same; it looks fantastic served and tastes absolutely fabulous.

*Italian Egg Carbonara*
Serves 1
(No photos on here yet, I'm afraid)

1 egg (free range preferable as the egg isn't fully cooked)
Splash of double cream (a tinier splash of milk if you're pushed)
Chopped (cooked) wafer-thin ham - 1/3 of a pack?
30g finely grated cheddar cheese (more if you like!)
100g spaghetti
Lots of black pepper

This recipe is perfect for a quick but filling lunch, and requires only one saucepan to boil pasta in, and one bowl to mix your sauce in. No real mess leftover. Enjoy!

1. Firstly, fill your saucepan with boiling water, add a little salt, and add pasta. Give a quick stir with a fork and leave to boil.

2. While pasta is cooking, crack the egg into your bowl, add a pinch of salt and lots of pepper, and give a quick whisk with a fork. Add around 2-3tbsp of double cream and stir again before grating cheese into the same bowl. Finally, chop ham into small pieces, add to the egg-cheese sauce and mix thoroughly until all ingredients are coated.

3. The trickiest part. Once pasta has cooked (10-12 mins), add a couple of tbsp hot pasta water to your egg-cheese sauce (stir it quickly), before draining about 97% of the pasta water away. Toss the pasta so that the steam and its residual heat is lost. This ensures that when your sauce is added to the pasta, it won't scramble*. After the dry(ish) pasta has cooled for 2mins, pour your sauce into the saucepan over the pasta, stirring quickly, and place over a low heat for 1min to fully heat. Within about thirty seconds, you'll see the cheese has melted and the sauce has thickened. Serve with lots of black pepper and more grated cheese.

*If your sauce scrambles, it's not the end of the world. It will still taste good; just technically won't be carbonara anymore.

*

*Creamy Bacon Carbonara*
Serves 2

2/3 of small tub of half-fat creme fraiche
4-6 rashers smoked back bacon
50g grated cheddar cheese
3 large mushrooms
1/2 onion
1 clove garlic
1 small red chilli
180-200g pasta (we used a gorgeous, curly-shaped pasta that we found by luck)

1. Chop onion, garlic, chilli and mushroom and place a frying pan or wok onto a high heat with a splash of olive oil. Add your chopped veg and allow to soften and brown. Whilst these are cooking, chop your bacon into bite-size pieces. Once the veg are soft and fully cooked, tip into one of your serving plates, and add your chopped bacon to the emptied wok. Add a little black pepper (no salt necessary).

2. At this point, add your pasta and a little salt to a saucepan of boiling water, stir once, and set a timer for 10-12mins. Keep checking your bacon and stir to prevent it sticking and burning.

3. Whilst waiting for your bacon to cook and become crispy (around 5-8mins on a high heat), grate your cheese and set out the creme fraiche, ready to add to the wok. When your pasta has about 4mins cooking time left, add creme fraiche to the pan and allow to sizzle on the hot heat, coating the bacon and taking on a creamy colour.


4. Flavouring your sauce: tip veg back into the wok, coating in the sauce, before adding grated cheese and black pepper. Stir well, making sure that the cheese melts and is distributed across the sauce evenly, before adding a little splosh (not a technical term...) of boiling pasta water from the adjacent pan, keeping your sauce light. Don't panic if your sauce seems too thinned out - it will thicken the longer it boils as more moisture evaporates. Finally, after 2-3mins, turn the heat down to low. The sauce should have reduced a little to leave you a cheese sauce that has a thick, creamy consistency but isn't too rich.

5. When your pasta is cooked, drain (a little excess water is fine) and tip into your cheese-sauce wok, stirring and coating the pasta entirely. Enjoy this one - it's what I've got for dinner tonight!

PS: Have to admit that I was on a carb-binge last week and served this with a (burnt) garlic baguette too - not especially 'healthy' but really very good. Also, you may not want to serve yourself the gargantuan proportions we felt like having on this occasion - you can cut the pasta amounts down if you feel like being good.


 PPS: We made alcoholic slush puppies Friday night - such a great idea! Using a blender, we made one by mixing a cheap WKD substitute and ice, othe other with strawberry daiquiri mix and ice. About a 60-40 ratio of fizzy alcholic drinks to ice. If you don't have a blender or handblender, you can buy crushed ice straight from the supermarket which makes things easier. These aren't very strong but were sweet and alcoholic enough for our night in - obviously you can use whatever alcohol you prefer. Too bad we didn't have any straws!